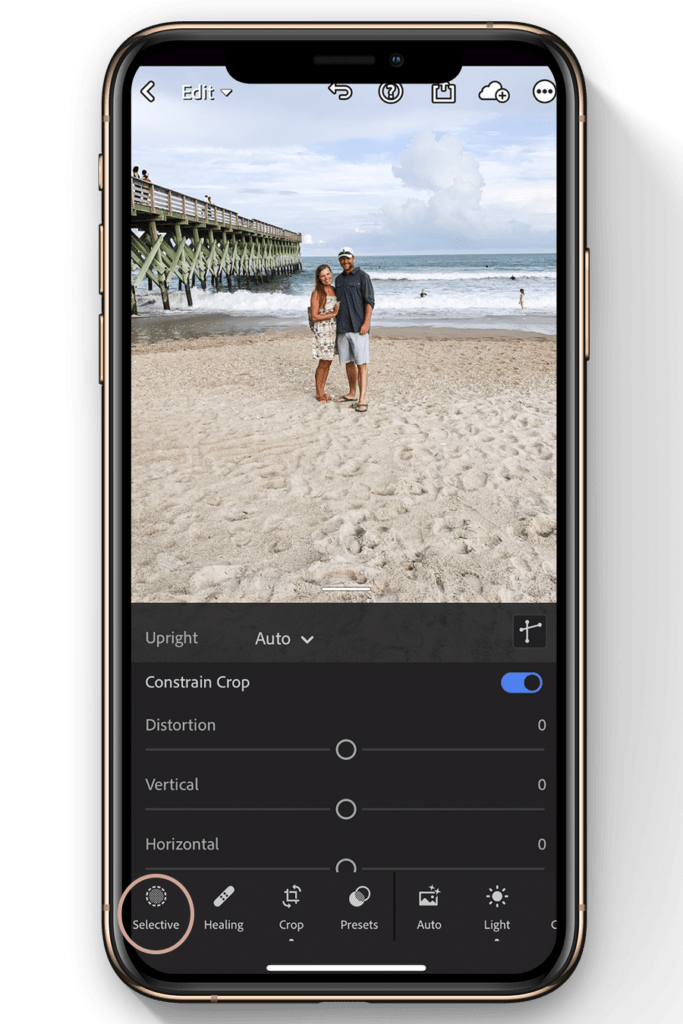
Different versions of a Lightroom Mobile photo.
Creating different versions of a Lightroom Mobile photo refers to the ability to make and save multiple variations of a single photo within the Lightroom Mobile app. These variations, also known as virtual copies, can be edited differently and saved separately from the original photo.
For example, you may want to create a black and white version of a color photo, or a cropped version of the original photo. By creating virtual copies, you can make these edits without altering the original photo.
To create a virtual copy in Lightroom Mobile, you can select the photo you want to copy and tap the three-dot icon in the upper-right corner. From there, select “Create Virtual Copy” and a new version of the photo will be created. You can then edit the virtual copy as desired, without affecting the original photo or any other virtual copies.
Creating different versions of a Lightroom Mobile photo can be a useful tool for experimenting with different edits or styles, or for creating multiple versions of a photo for different purposes.

Lightroom Mobile is a powerful tool that allows you to edit and manage your photos on the go. One of the great features of Lightroom Mobile is the ability to create different versions of a photo without duplicating the original file. Here’s how you can create different versions of a photo in Lightroom Mobile:
Step 1: Import Your Photo
Open Lightroom Mobile and import the photo you want to create different versions of. You can do this by tapping the “+” icon on the main screen and selecting “Add Photos”. Choose the photo you want to import from your camera roll or photo library.
Step 2: Edit Your Photo
Once you have imported your photo, you can start editing it. Tap on the photo to open the editing tools. Use the sliders and tools to adjust the exposure, contrast, color, and other settings until you are happy with the result.
Step 3: Create a New Version
To create a new version of your edited photo, tap on the three dots in the upper-right corner of the editing screen and select “Create Virtual Copy”. This will create a new version of the photo that you can edit separately from the original.
Step 4: Edit Your New Version
Once you have created a new virtual copy, you can edit it separately from the original. Tap on the new version to open the editing tools, and make the adjustments you want. You can experiment with different settings and effects to create a completely different look.
Step 5: Repeat as Needed
You can repeat this process to create as many versions of the photo as you want. Each new virtual copy will be separate from the others, so you can edit them independently.
Step 6: Export Your Photos
When you are done editing your photos, you can export them to save or share them. Tap on the photo you want to export and select “Export”. Choose the format and size you want, and then save or share the photo as needed.
Creating different versions of a photo in Lightroom Mobile is a powerful tool that allows you to explore different editing options and create unique and creative images. By following these simple steps, you can create as many versions of a photo as you want, without duplicating the original file.
Some FAQs on creating different versions of a Lightroom Mobile photo:
Q: What are different versions of a Lightroom Mobile photo? A: Different versions of a Lightroom Mobile photo refer to different edits or adjustments made to a single photo. These versions can include variations in brightness, contrast, color, saturation, and other visual elements.
Q: Why would I want to create different versions of a photo in Lightroom Mobile? A: Creating different versions of a photo can help you experiment with different editing styles or techniques, compare different edits side by side, or create multiple versions of the same photo for different purposes (such as social media posts, prints, or digital portfolios).
Q: How do I create different versions of a photo in Lightroom Mobile? A: To create a new version of a photo in Lightroom Mobile, select the photo in your library and tap the three-dot menu icon in the top right corner. From there, select “Create Virtual Copy” to make a duplicate of the photo. You can then edit each version separately.
Q: How do I switch between different versions of a photo in Lightroom Mobile? A: To switch between different versions of a photo in Lightroom Mobile, select the photo in your library and swipe left or right to view different versions. You can also tap the three-dot menu icon and select “Versions” to view and switch between all versions of the photo.
Q: Can I export different versions of a photo in Lightroom Mobile? A: Yes, you can export different versions of a photo by selecting the version you want to export and tapping the share/export icon in the top right corner. From there, you can choose to export the photo as a JPEG, PNG, or other file type, with different size and quality options.


