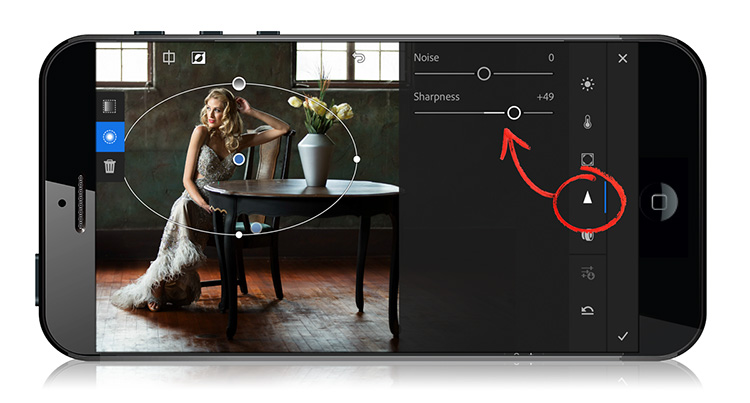
Learn how to reduce noise in Lightroom Mobile with our step-by-step guide. Say goodbye to grainy photos and hello to clearer, sharper images.
Introduction:
Lightroom Mobile is a powerful tool for editing photos on the go. One common issue that many mobile photographers face is noise, which can make images appear grainy or blurry. Luckily, Lightroom Mobile offers a noise reduction feature that can help to eliminate this problem. In this article, we’ll show you how to reduce noise in Lightroom Mobile.

How to Reduce Noise in Lightroom Mobile
Here are the steps to reduce noise in Lightroom Mobile:
Step 1: Open the Photo in Lightroom Mobile
The first step in reducing noise in Lightroom Mobile is to open the photo you want to edit in the app. To do this, simply launch the app and select the photo from your camera roll or Lightroom library.
Step 2: Tap on the Edit Button
Once you’ve selected your photo, tap on the “Edit” button in the bottom right corner of the screen.
Step 3: Select the Detail Tab
Next, select the “Detail” tab in the editing panel. This is where you’ll find the noise reduction feature.
Step 4: Adjust the Noise Reduction Settings
Under the “Noise Reduction” section, you’ll see two sliders labeled “Luminance” and “Color.” Use these sliders to adjust the amount of noise reduction you want to apply to the photo. Start by dragging the sliders to the right to increase the amount of noise reduction, and to the left to decrease it.
Step 5: Zoom in to Check the Results
Once you’ve made your adjustments, zoom in on the photo to check the results. This will allow you to see how the noise reduction has affected the image. If you’re not happy with the results, simply adjust the sliders again until you achieve the desired effect.
Tips for Reducing Noise in Lightroom Mobile
Here are some additional tips for reducing noise in Lightroom Mobile:
Shoot in Good Lighting Conditions
One of the best ways to reduce noise in your photos is to shoot in good lighting conditions. This can help to prevent the ISO from being pushed too high, which can lead to noise.
Use a Tripod or Stabilization
Another way to reduce noise is to use a tripod or some other form of stabilization when taking photos. This can help to reduce camera shake, which can cause noise.
Adjust the Exposure Settings
If you’re still struggling with noise, try adjusting the exposure settings in Lightroom Mobile. Increasing the exposure can help to brighten the photo and reduce noise.
Some FAQs on Lightroom mobile noise reduction
- What is noise reduction in Lightroom Mobile?
Noise reduction is a feature in Lightroom Mobile that helps to reduce the appearance of digital noise in photos. Digital noise is caused by low light situations or high ISO settings, and can make photos look grainy or pixelated.
- How do I access the noise reduction feature in Lightroom Mobile?
To access the noise reduction feature in Lightroom Mobile, first open the photo you want to edit. Then tap on the Edit button and select Detail. From there, you can adjust the Luminance and Color sliders to reduce noise in your photo.
- What is Luminance noise reduction in Lightroom Mobile?
Luminance noise reduction in Lightroom Mobile is a tool that reduces the appearance of grain in the brightness areas of a photo. It smooths out any noise that may be present in the highlights and shadows, resulting in a cleaner and clearer photo.
- What is Color noise reduction in Lightroom Mobile?
Color noise reduction in Lightroom Mobile is a tool that reduces the appearance of unwanted color patterns in a photo. It helps to remove any colored speckles or blotches that may be present in areas of the photo where the color is not consistent.
- What is the best way to use the noise reduction feature in Lightroom Mobile?
The best way to use the noise reduction feature in Lightroom Mobile is to adjust the sliders gradually and check the preview to see how the changes are affecting the photo. It is also recommended to zoom in on the photo to get a better view of the noise reduction effect.
- Does using noise reduction in Lightroom Mobile affect the quality of the photo?
Using noise reduction in Lightroom Mobile can improve the overall appearance of the photo by reducing the appearance of digital noise.
Conclusion
In conclusion, reducing noise in Lightroom Mobile is a great way to improve the quality of your photos. By following the steps outlined in this article, you can use the noise reduction feature to eliminate grainy or blurry images.


